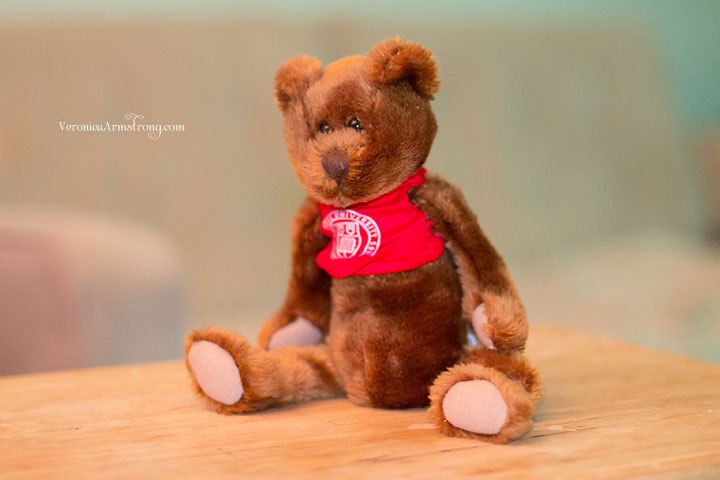
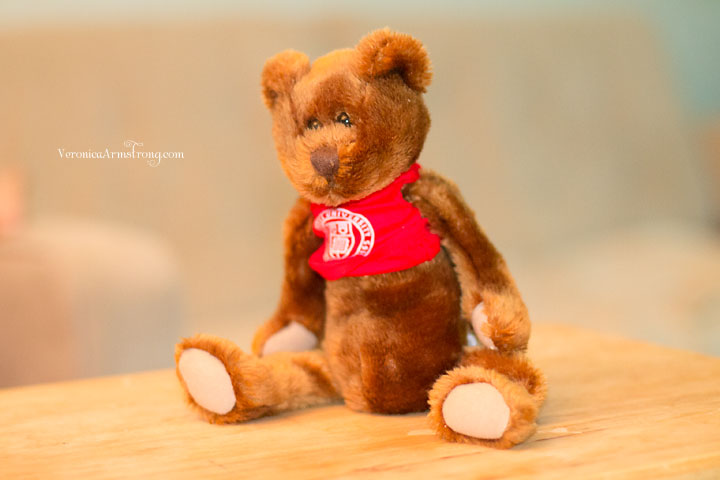
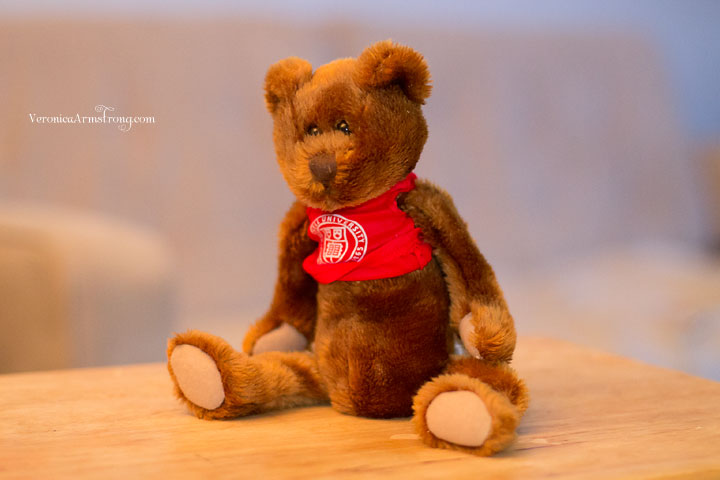
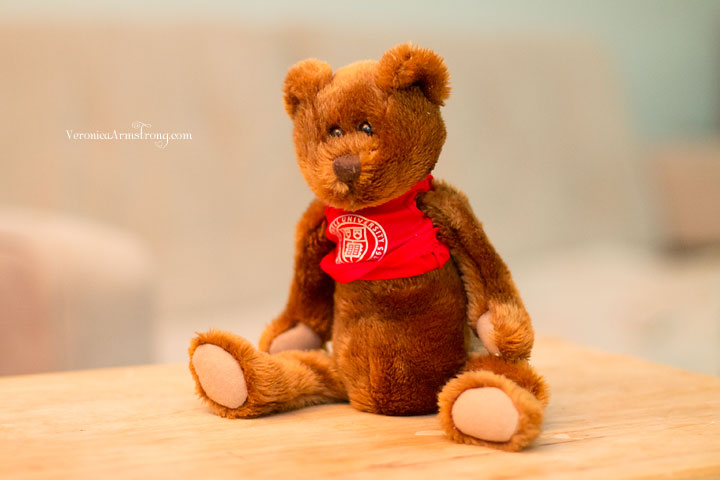
How to make your camera's pop up flash suck way less or not at all
Ah. The on camera flash. The bane of the amateur photographer's existence. We've all been warned about the consequences of using the little pop up flash on our entry-level consumer grade DSLRs. The light is harsh and creates ugly shadows. It ruins photos. It's the devil! While the warnings are sometimes true there are several ways to work around the issues and make your on camera flash an awesome resource. It's there so why not use it?
Not everyone wants to invest in an external flash or spend time learning how to use it. I have one and sometimes I run out of batteries. I'd rather take the shot with my pop up flash than miss out on a memory because I'm worried about sub par lighting. Photography is not about perfection it's about preservation. Make the most of the tools at your disposal, get creative, practice, and you'll grow.
Here are some tips for getting good shots with your on camera flash:
Adjust Flash Exposure Compensation
Flash exposure compensation controls the output of light released by the flash. Check your camera manual for model specific instructions on using this function. It's a great way to easily get decent shots with your pop up flash. Reduce the amount of light emitted from the flash until you get a shot you're happy with.
Here's my setup. Classy huh? One floor lamp to the right and the light from the television. Approximately 6:00 p.m. and pretty dark inside. Excuse the mess we're moving out of student housing soon and are currently living like hobos.
Pop up flash was not used for this shot.
You'll also have to excuse me for using a teddy bear as my model. My children were not interested and my husband was not home. Sigh.
Pop up flash was not used for this shot.
Pop up flash at default/full power. Ick!
Flash exposure compensation reduced to -2/3. Much better.
Notice the change in the background color. The room is tiny but the TV is kind of big in comparison so it totally changes the lighting. Cameron was watching Dora the Explorer which made the colors pretty wonky.
Pop up flash set to - 1 2/3. The bear is better lit in this shot than in the non flash shot but isn't as funky or harsh looking as the shot taken with direct pop up flash.
I'm not sure whether I like the shot taken with the flash at - 2/3 or the one taken at - 1 2/3 better but they're both decent.
There are many DIY tutorials out there for this product but I'm lazy and not very crafty. The light scoop is an affordable way to bounce the light from your pop up flash and natural looking results. It's really sturdy too. I've had mine for over a year and still use it occasionally.
Shot taken using the light scoop with the flash at full power.
Pop up flash at - 2/3
Pop up flash at - 1 2/3
Tracey Clark Trick
In Tracey's book "Elevate the Everyday: A Photographic Guide to Picturing Motherhood"* she suggests covering the pop up flash with a bit of tissue to diffuse and soften the light a bit. I gave this method a try and it works pretty well. Check it out.
Pop up flash at full power covered by tissue.
Flash at - 2/3 power covered by tissue.
Flash at - 1 2/3 power covered by tissue. Not too shabby.
I hope this helps. I know most photos taken using pop up flash aren't going to end up in a gallery but that's not the point. Many of us use photography to document our lives. The goal isn't perfection.
Modifying your pop up flash might help you capture moments you otherwise wouldn't have been able to due to ISO, lens, or lighting considerations.
Give these methods a try to see what works best for you.
Thanks to my pop up flash I was able to capture a sweet candid moment between the kids.


